Campus Sketches
(1) Campus Sketch Pictures
Planning for Sketches
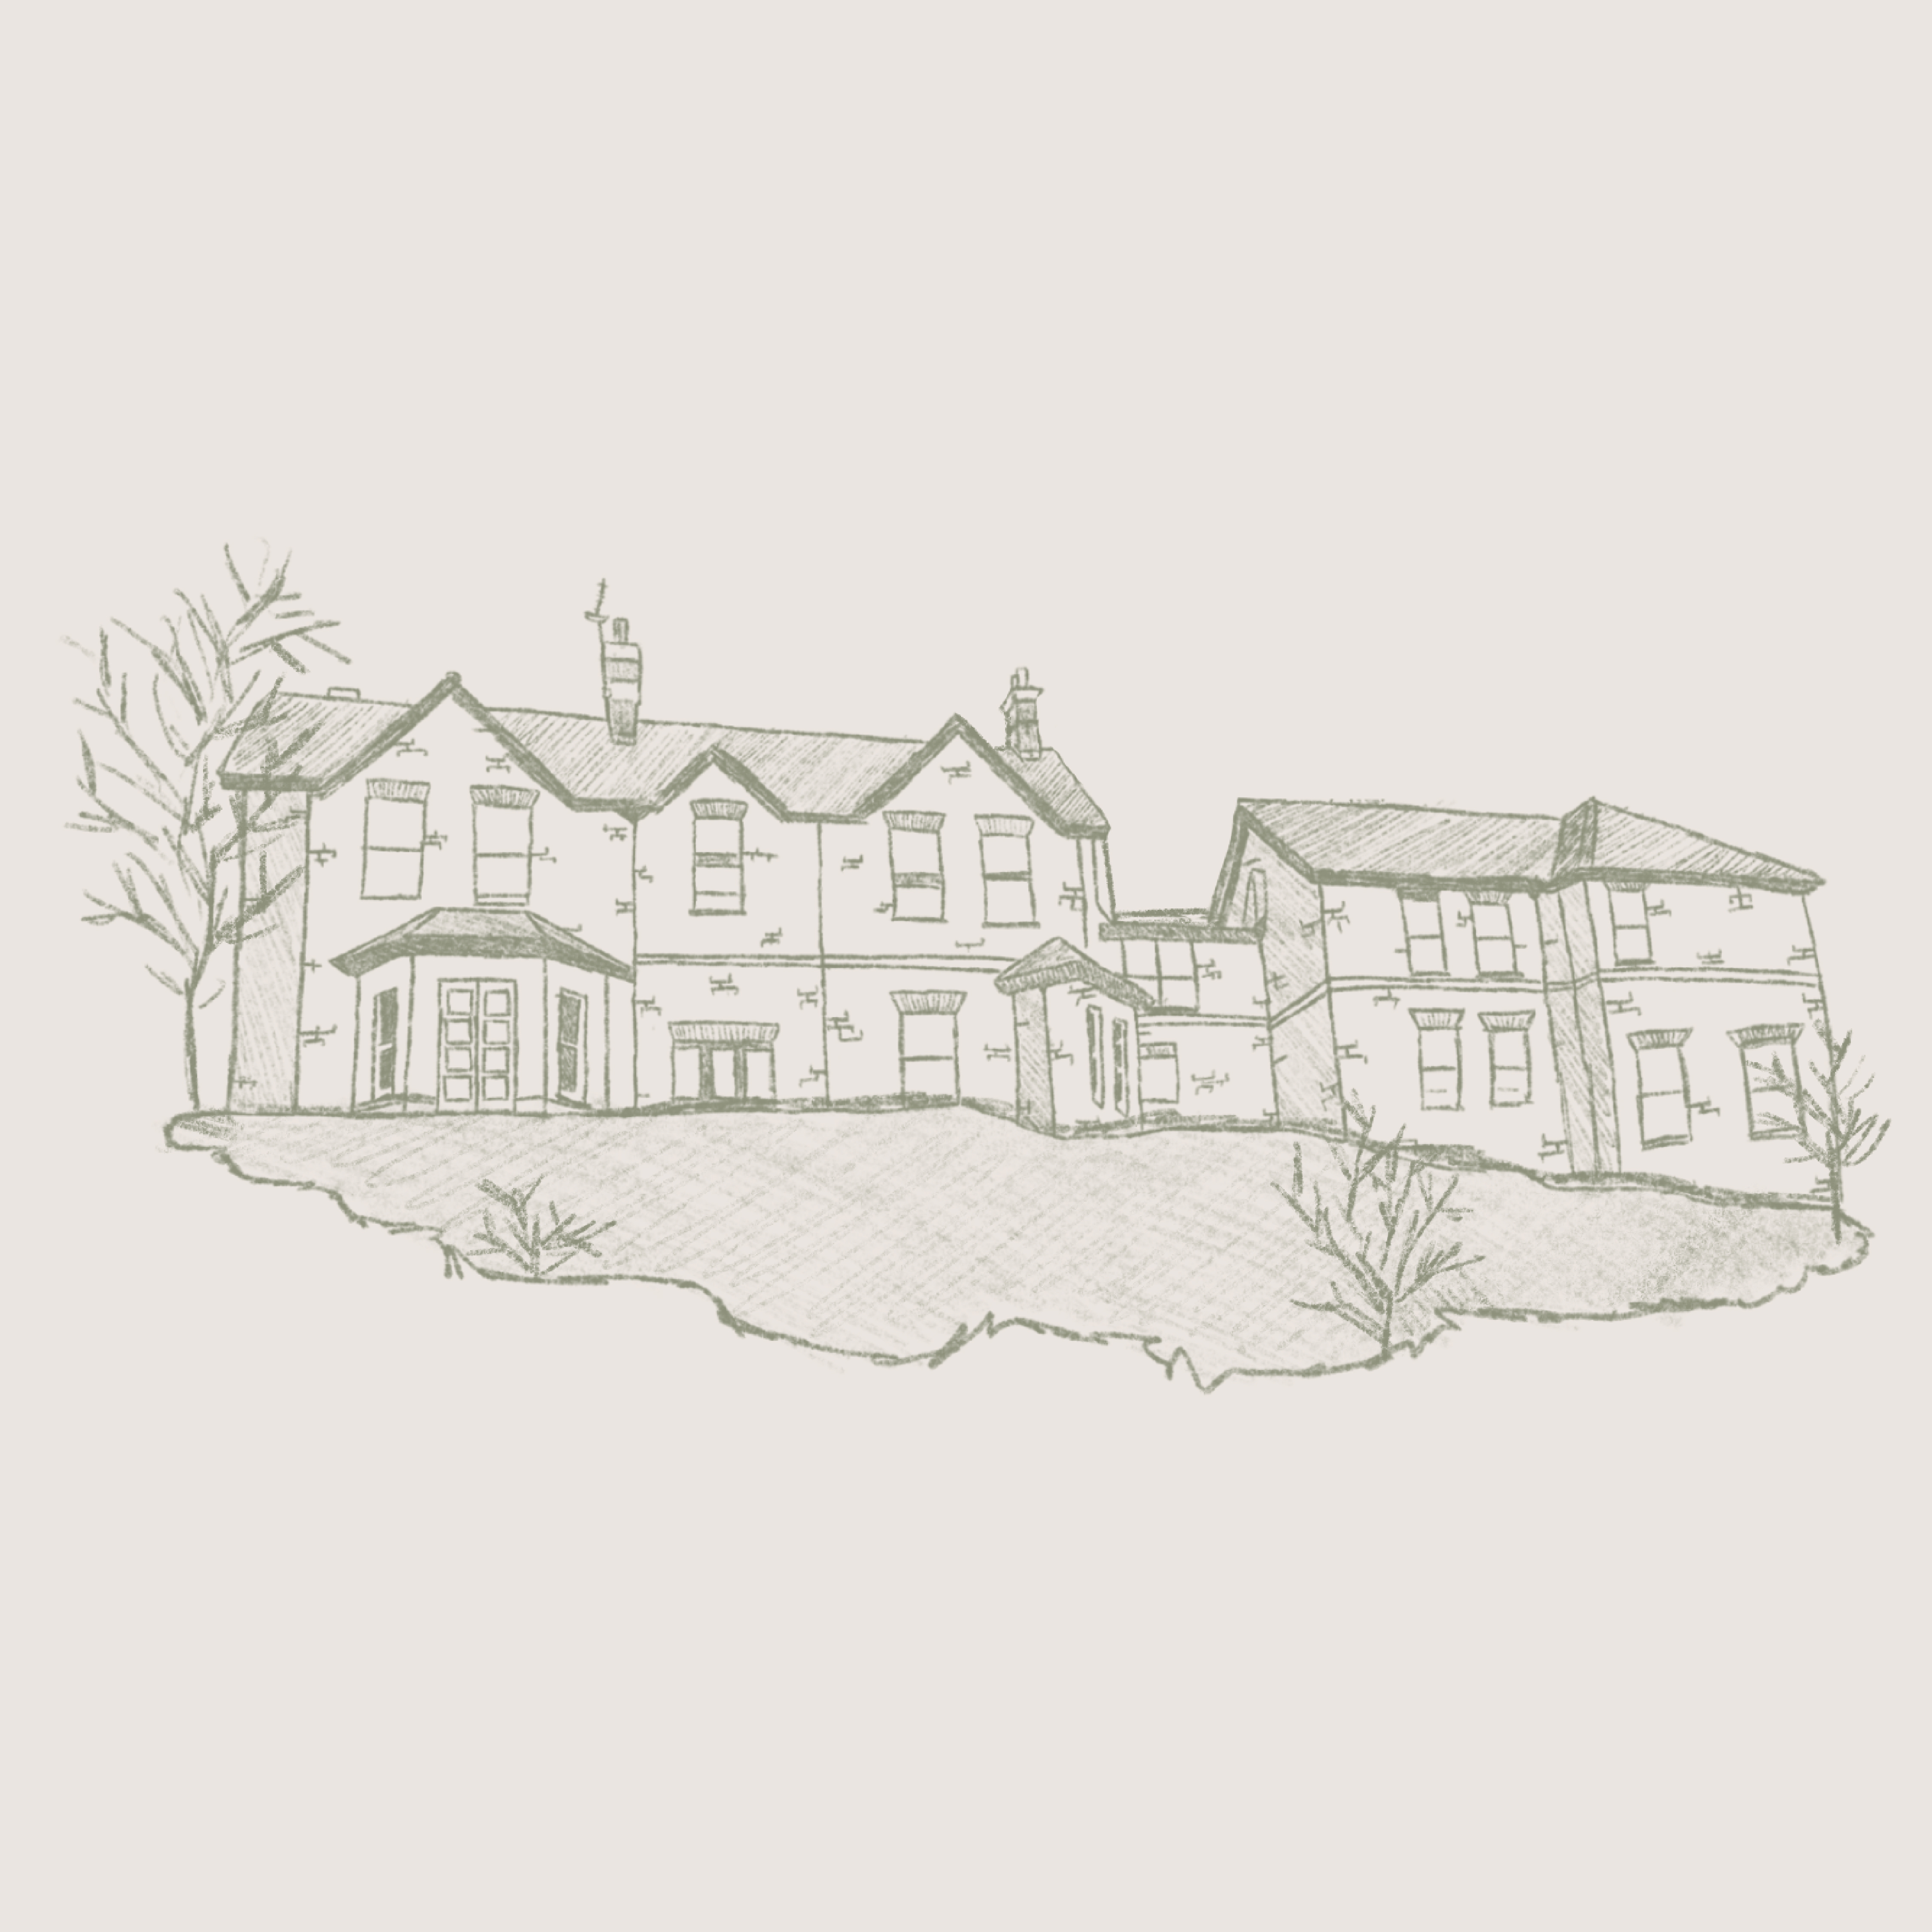
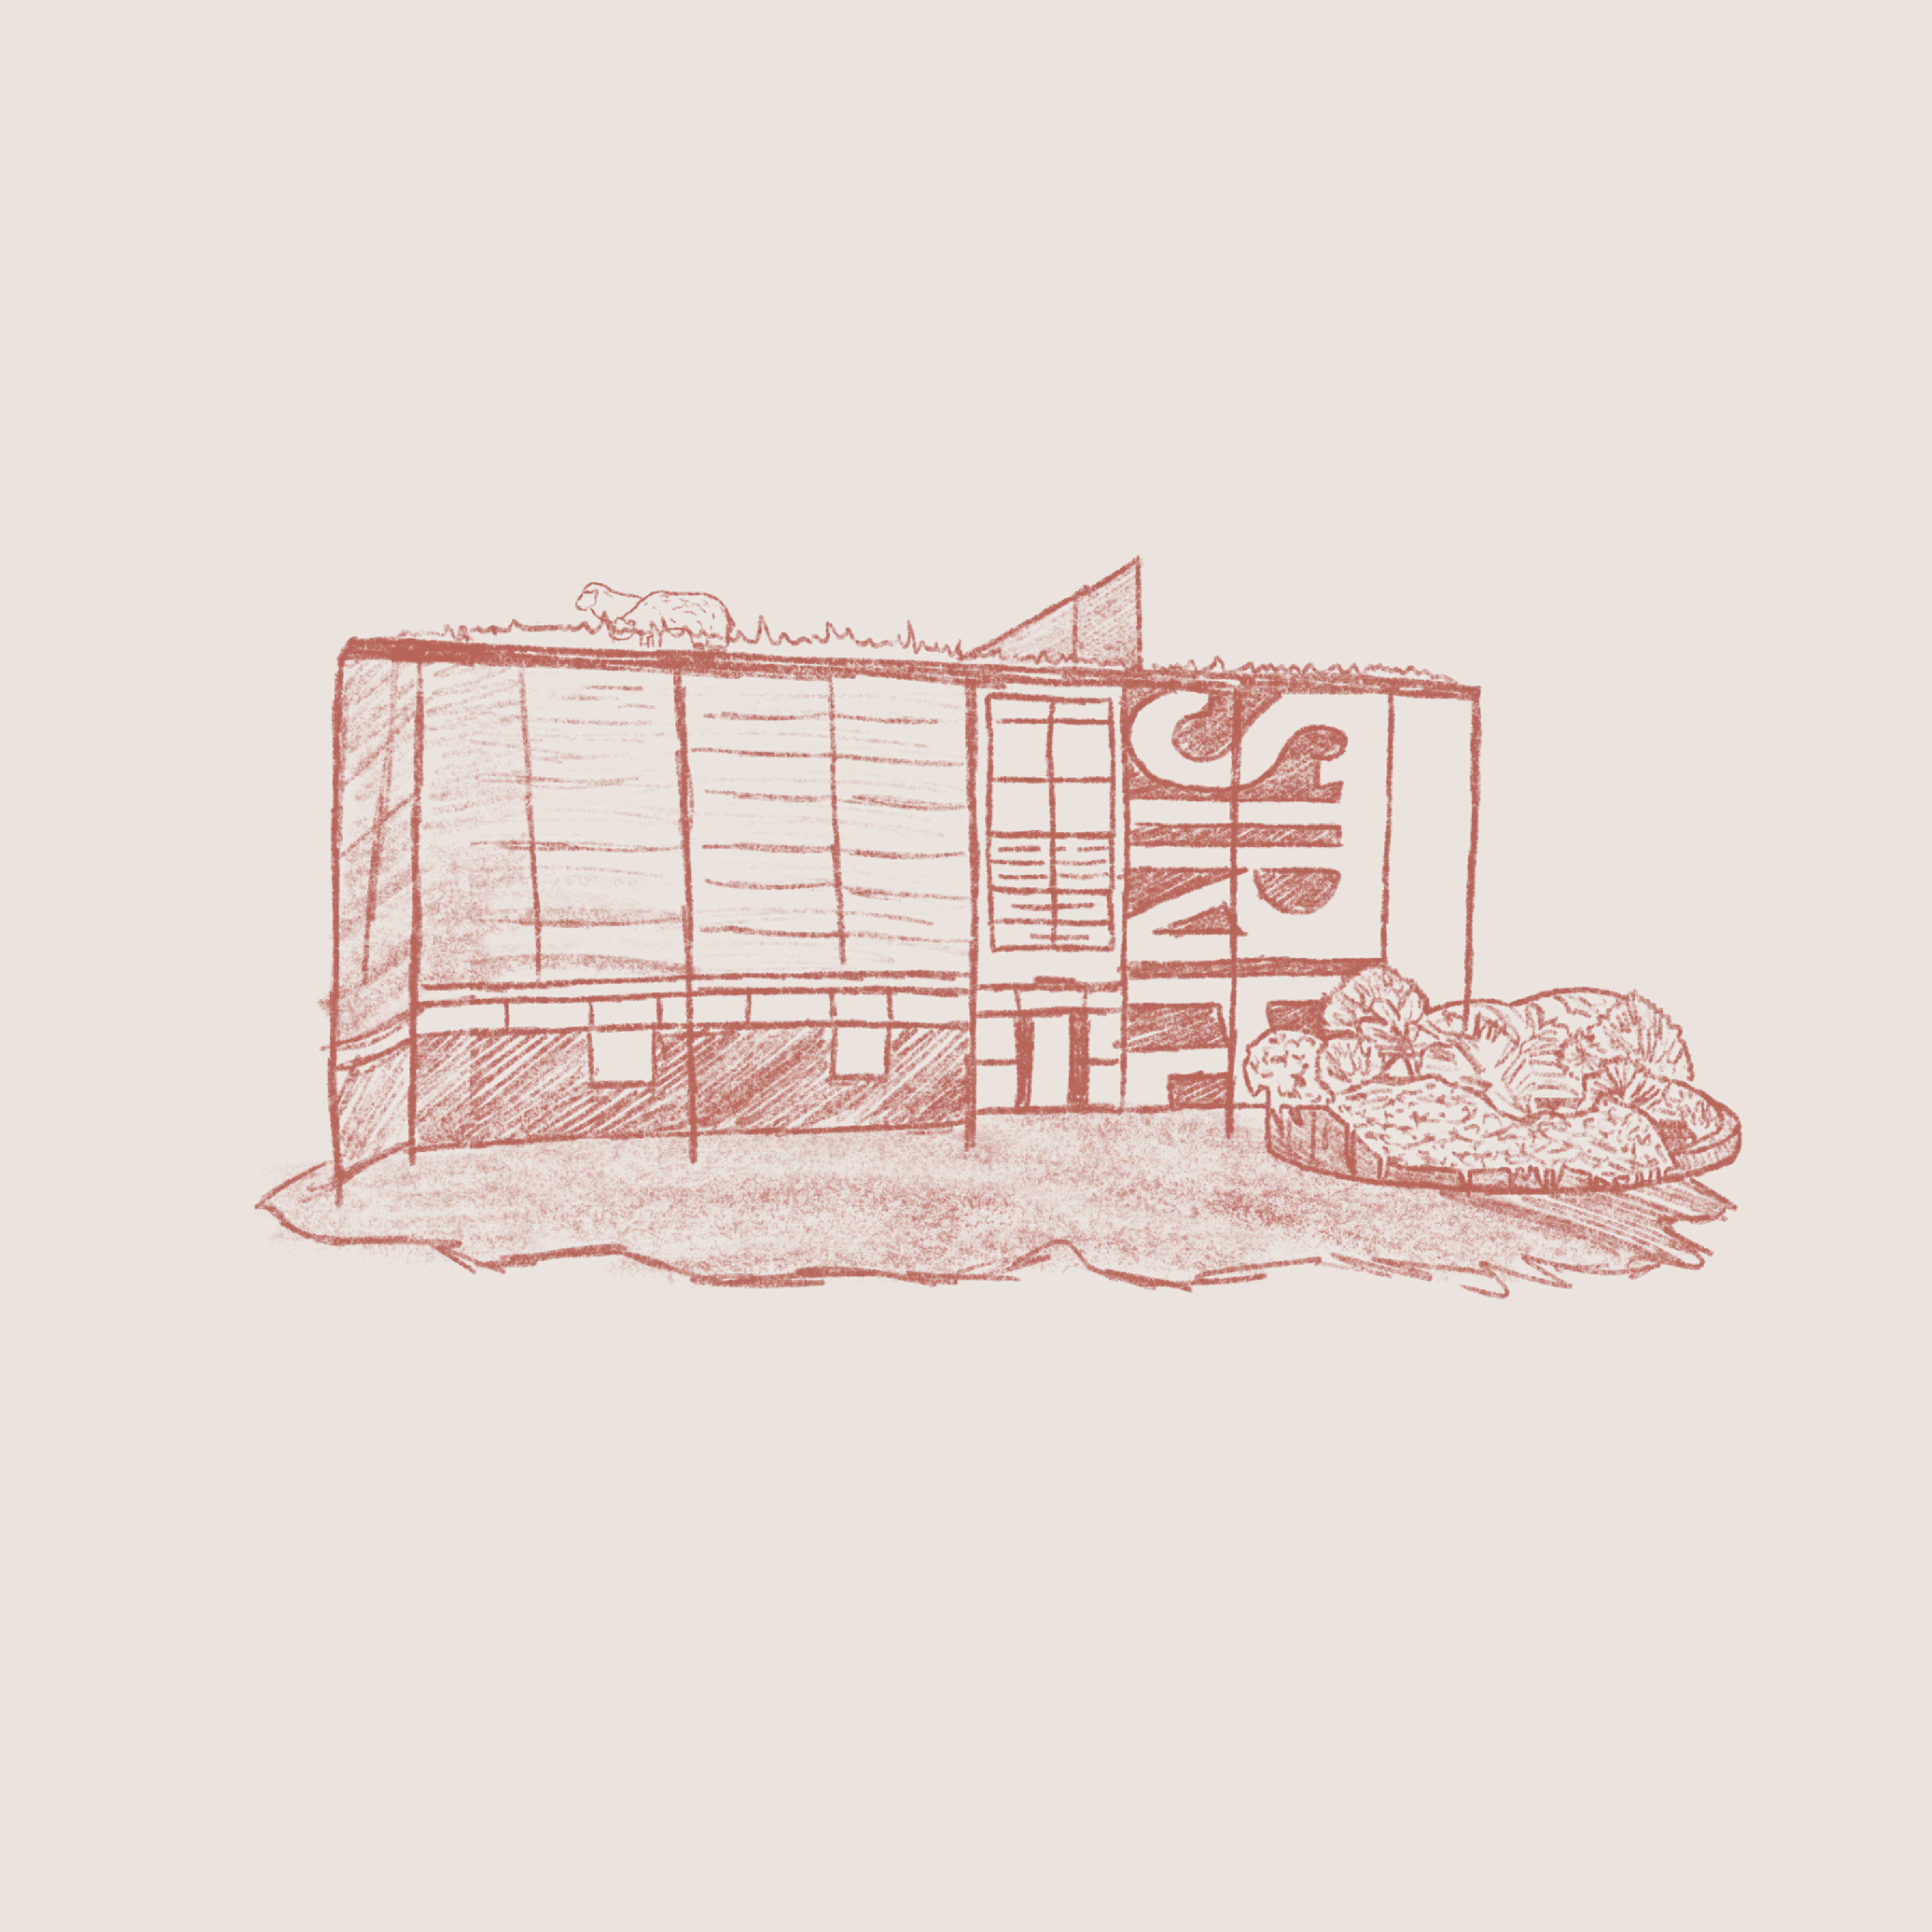
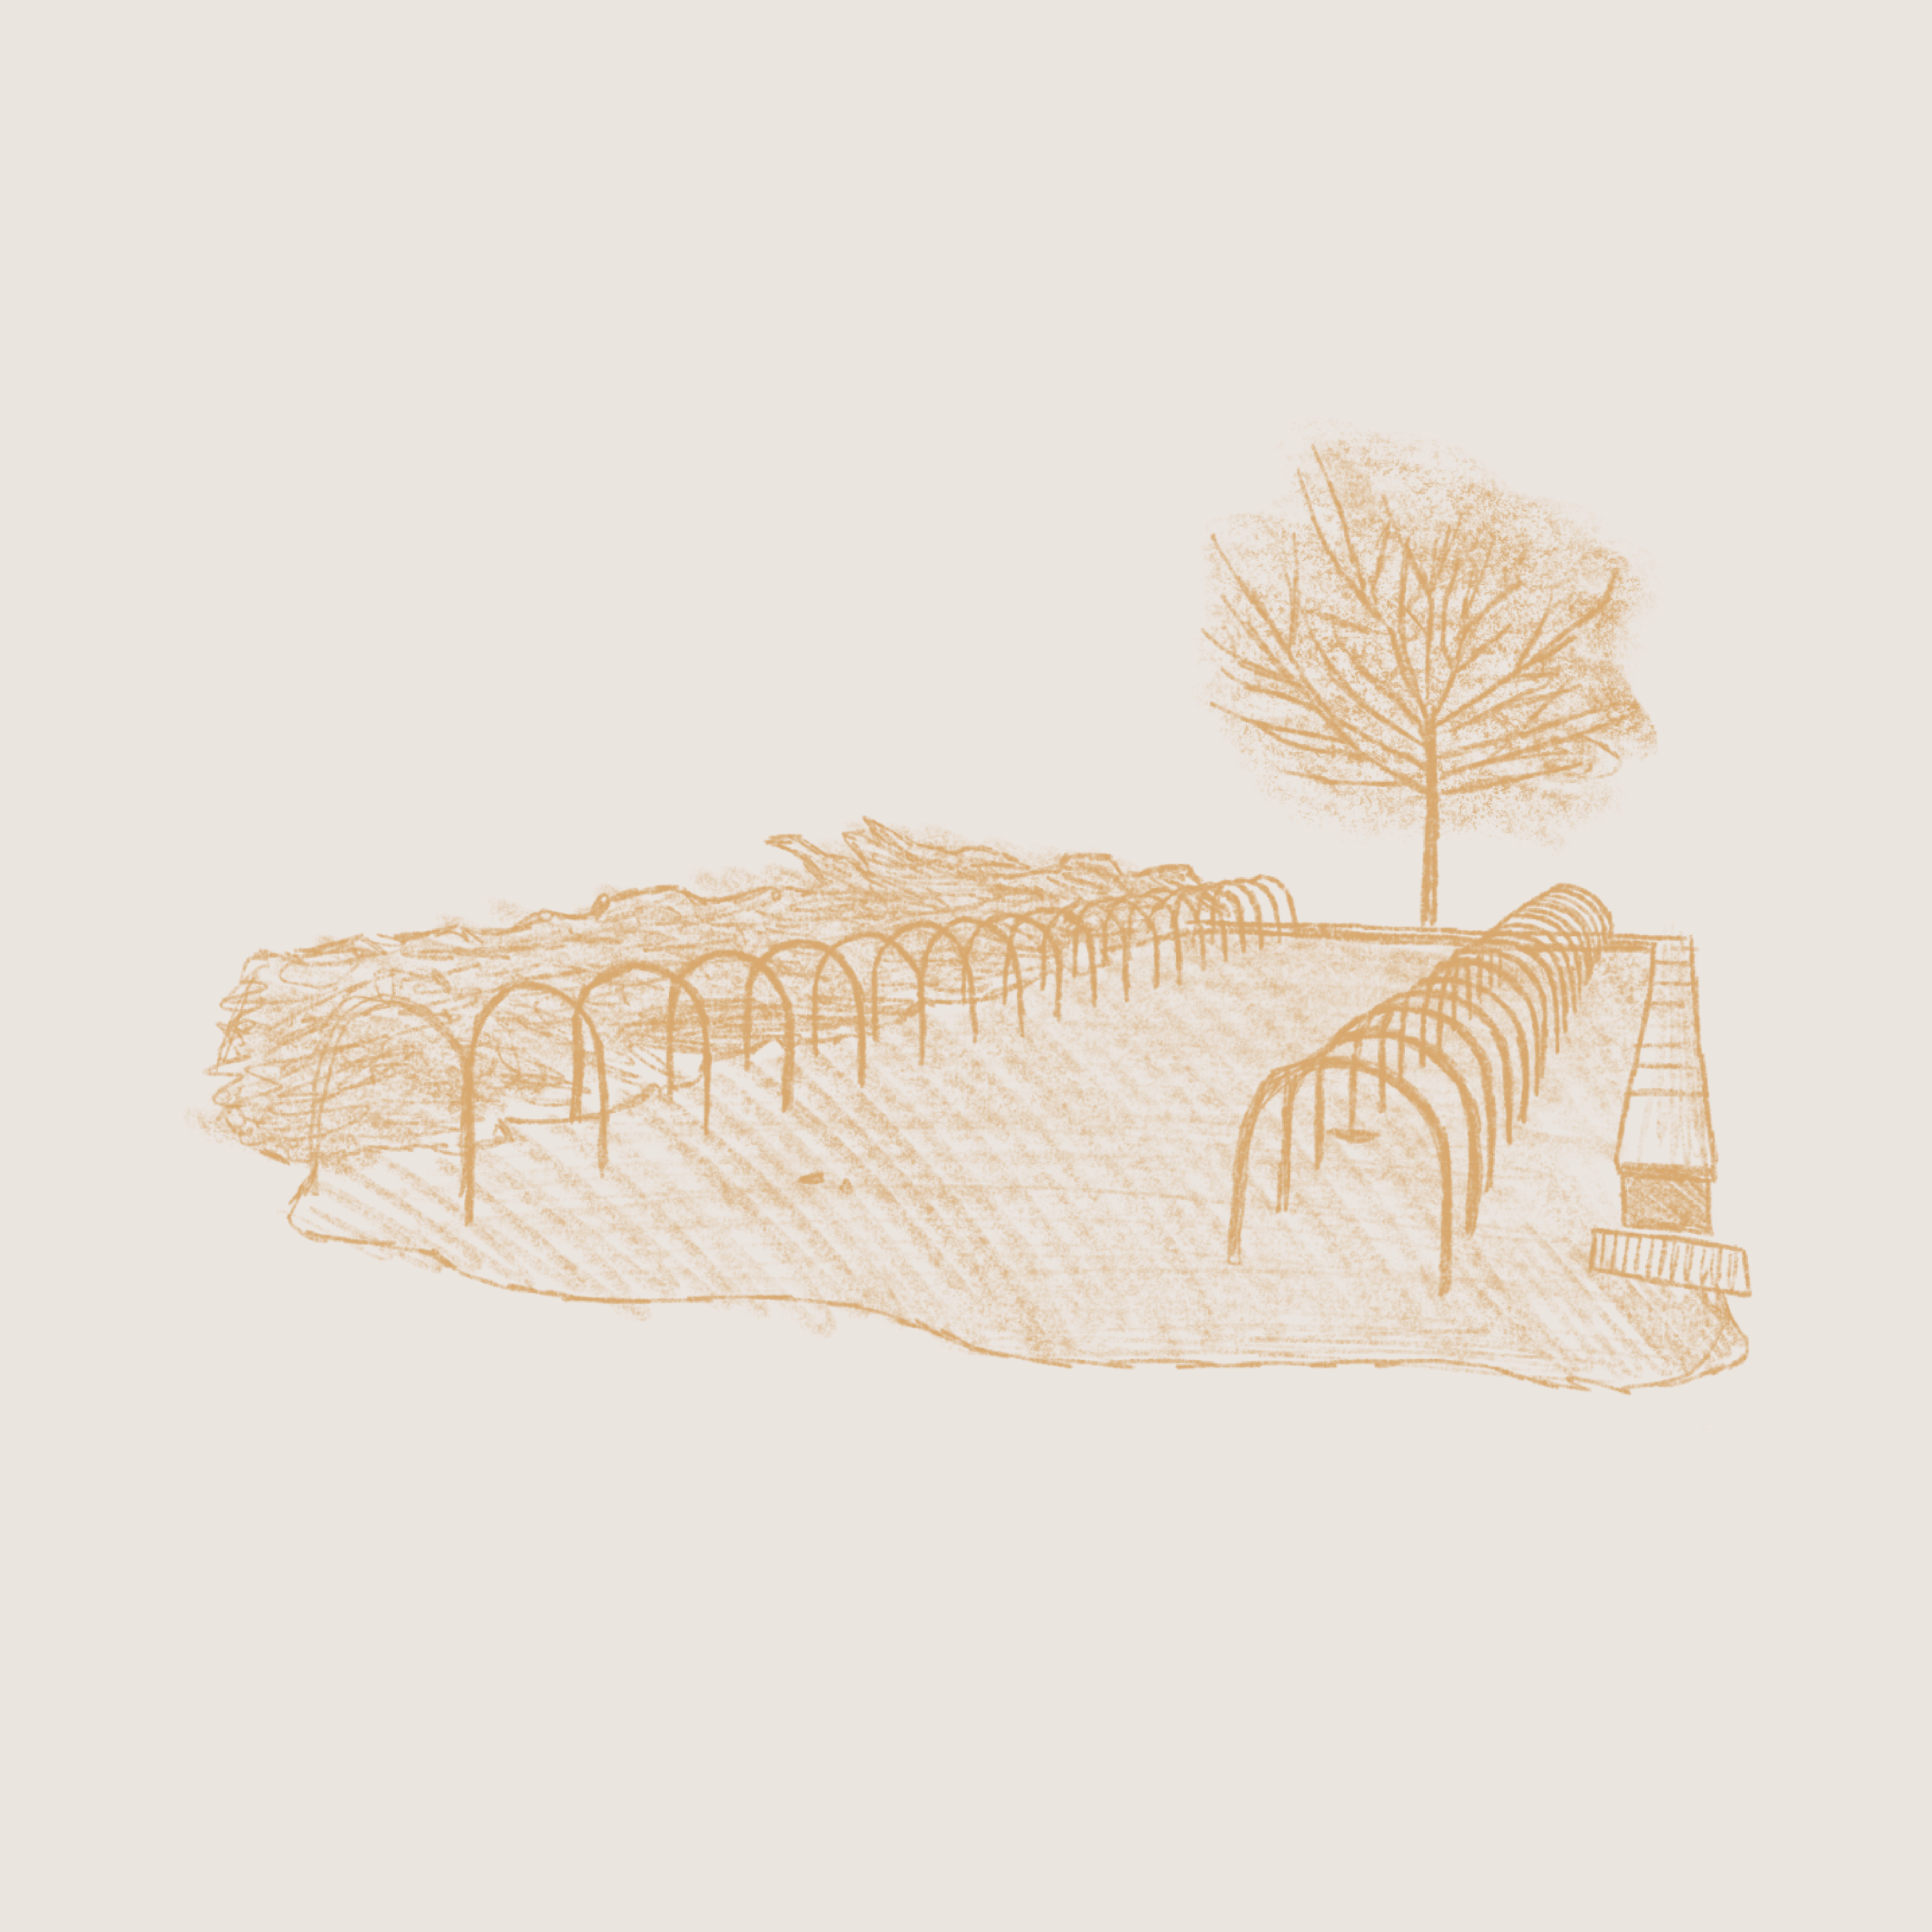
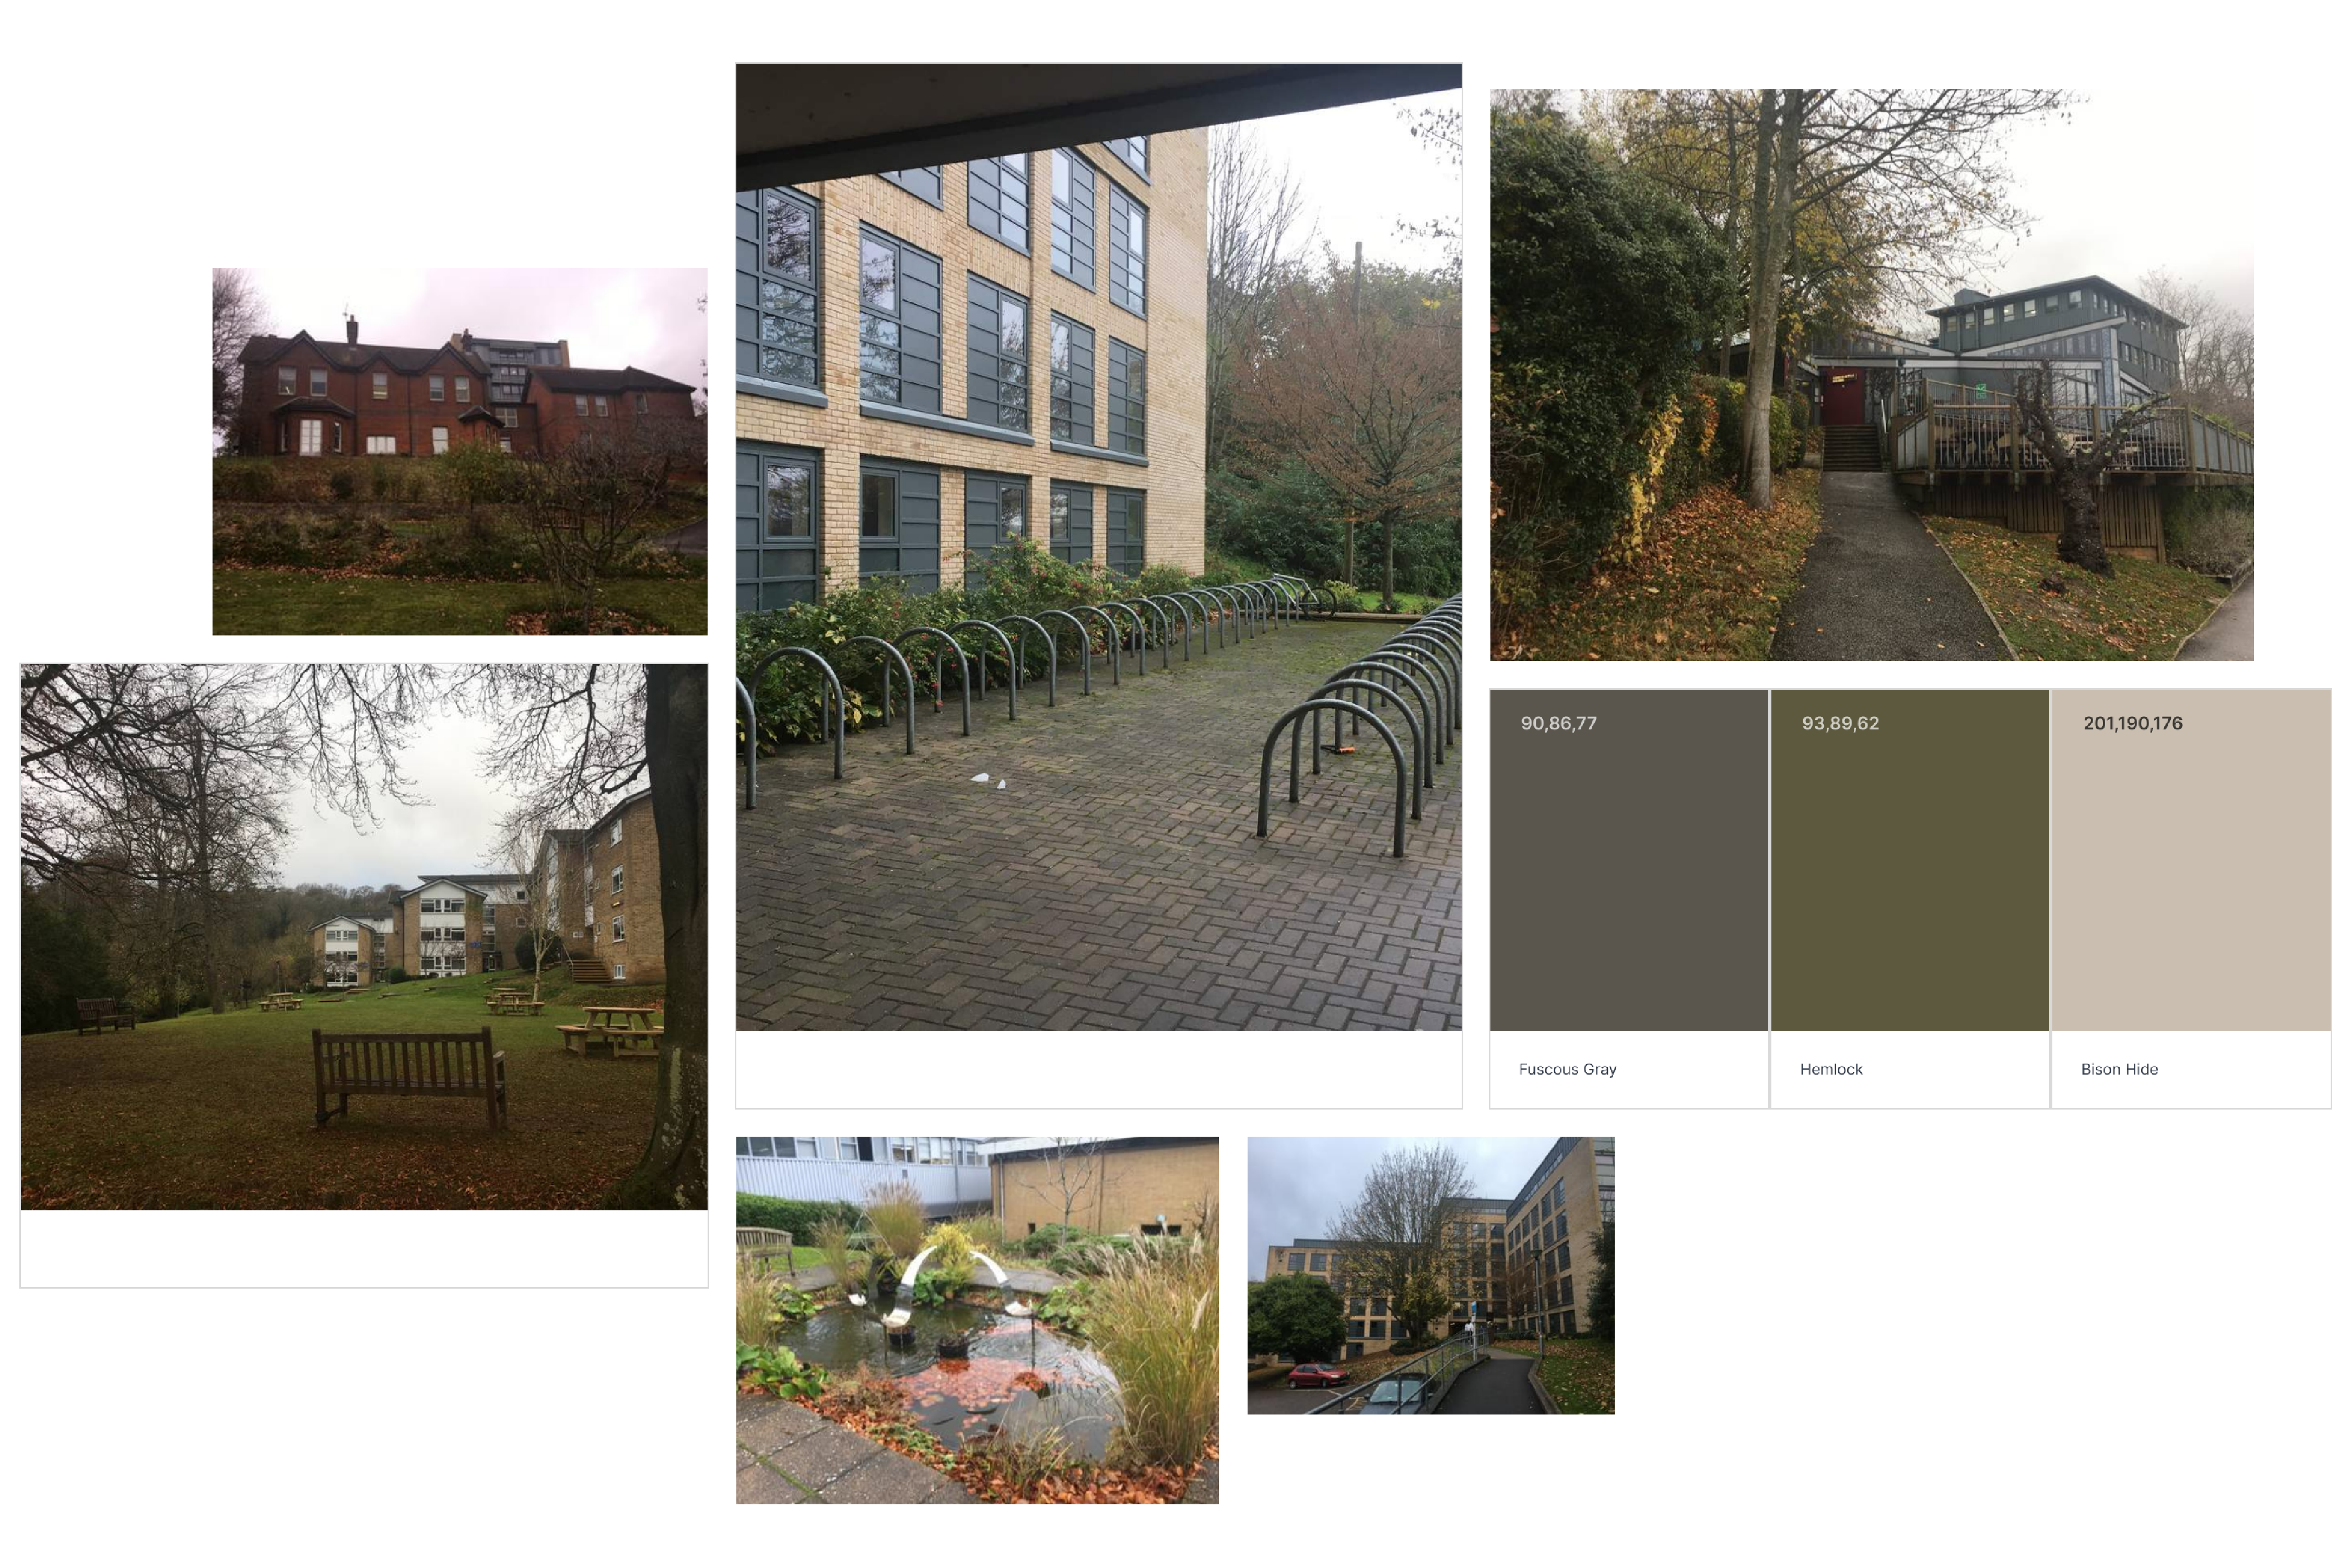
For this project, we were given a brief of creating a variety of sketches of areas around the University of Winchester campus, spending roughly around 15 minutes for each. It was expected that we would create a minimum of 5 sketches with the hope of teaching us about quick sketching sessions we may have in our design process going forwards. Similar to all of my other tasks, I decided to plan this project on Milanote.
After being given this brief, it was clear that I would need to take a look around campus to find some eye-catching areas that inspired me and take some pictures so I could sketch them in my own time. Another thing that needed to be considered before starting this task was how I would create my sketches, whether it be through traditional methods using pen and paper, or digitally using my IPad and a sketching app. Since I am new to digital methods, I decided that for this project I would use my IPad and expand my knowledge in digital design, instead of resorting back to pen and paper which I have been using all of my life for any creative needs.
Since I would be sketching digitally, I thought about the app I would use to create these sketches and decided to use Procreate. This application would allow me to draw and freely and use a brush that mimicked a pencil, such as the 6B pencil brush. Using this app would also allow me to learn a little bit more about it, so that I could expand my software knowledge for any future projects, and have a wider range of programs I could use for the best outcome.
Once I had decided on the correct approach to this project, it was time to move on and start sketching my chosen areas around campus.
Campus Sketch Process
Creating the Sketches
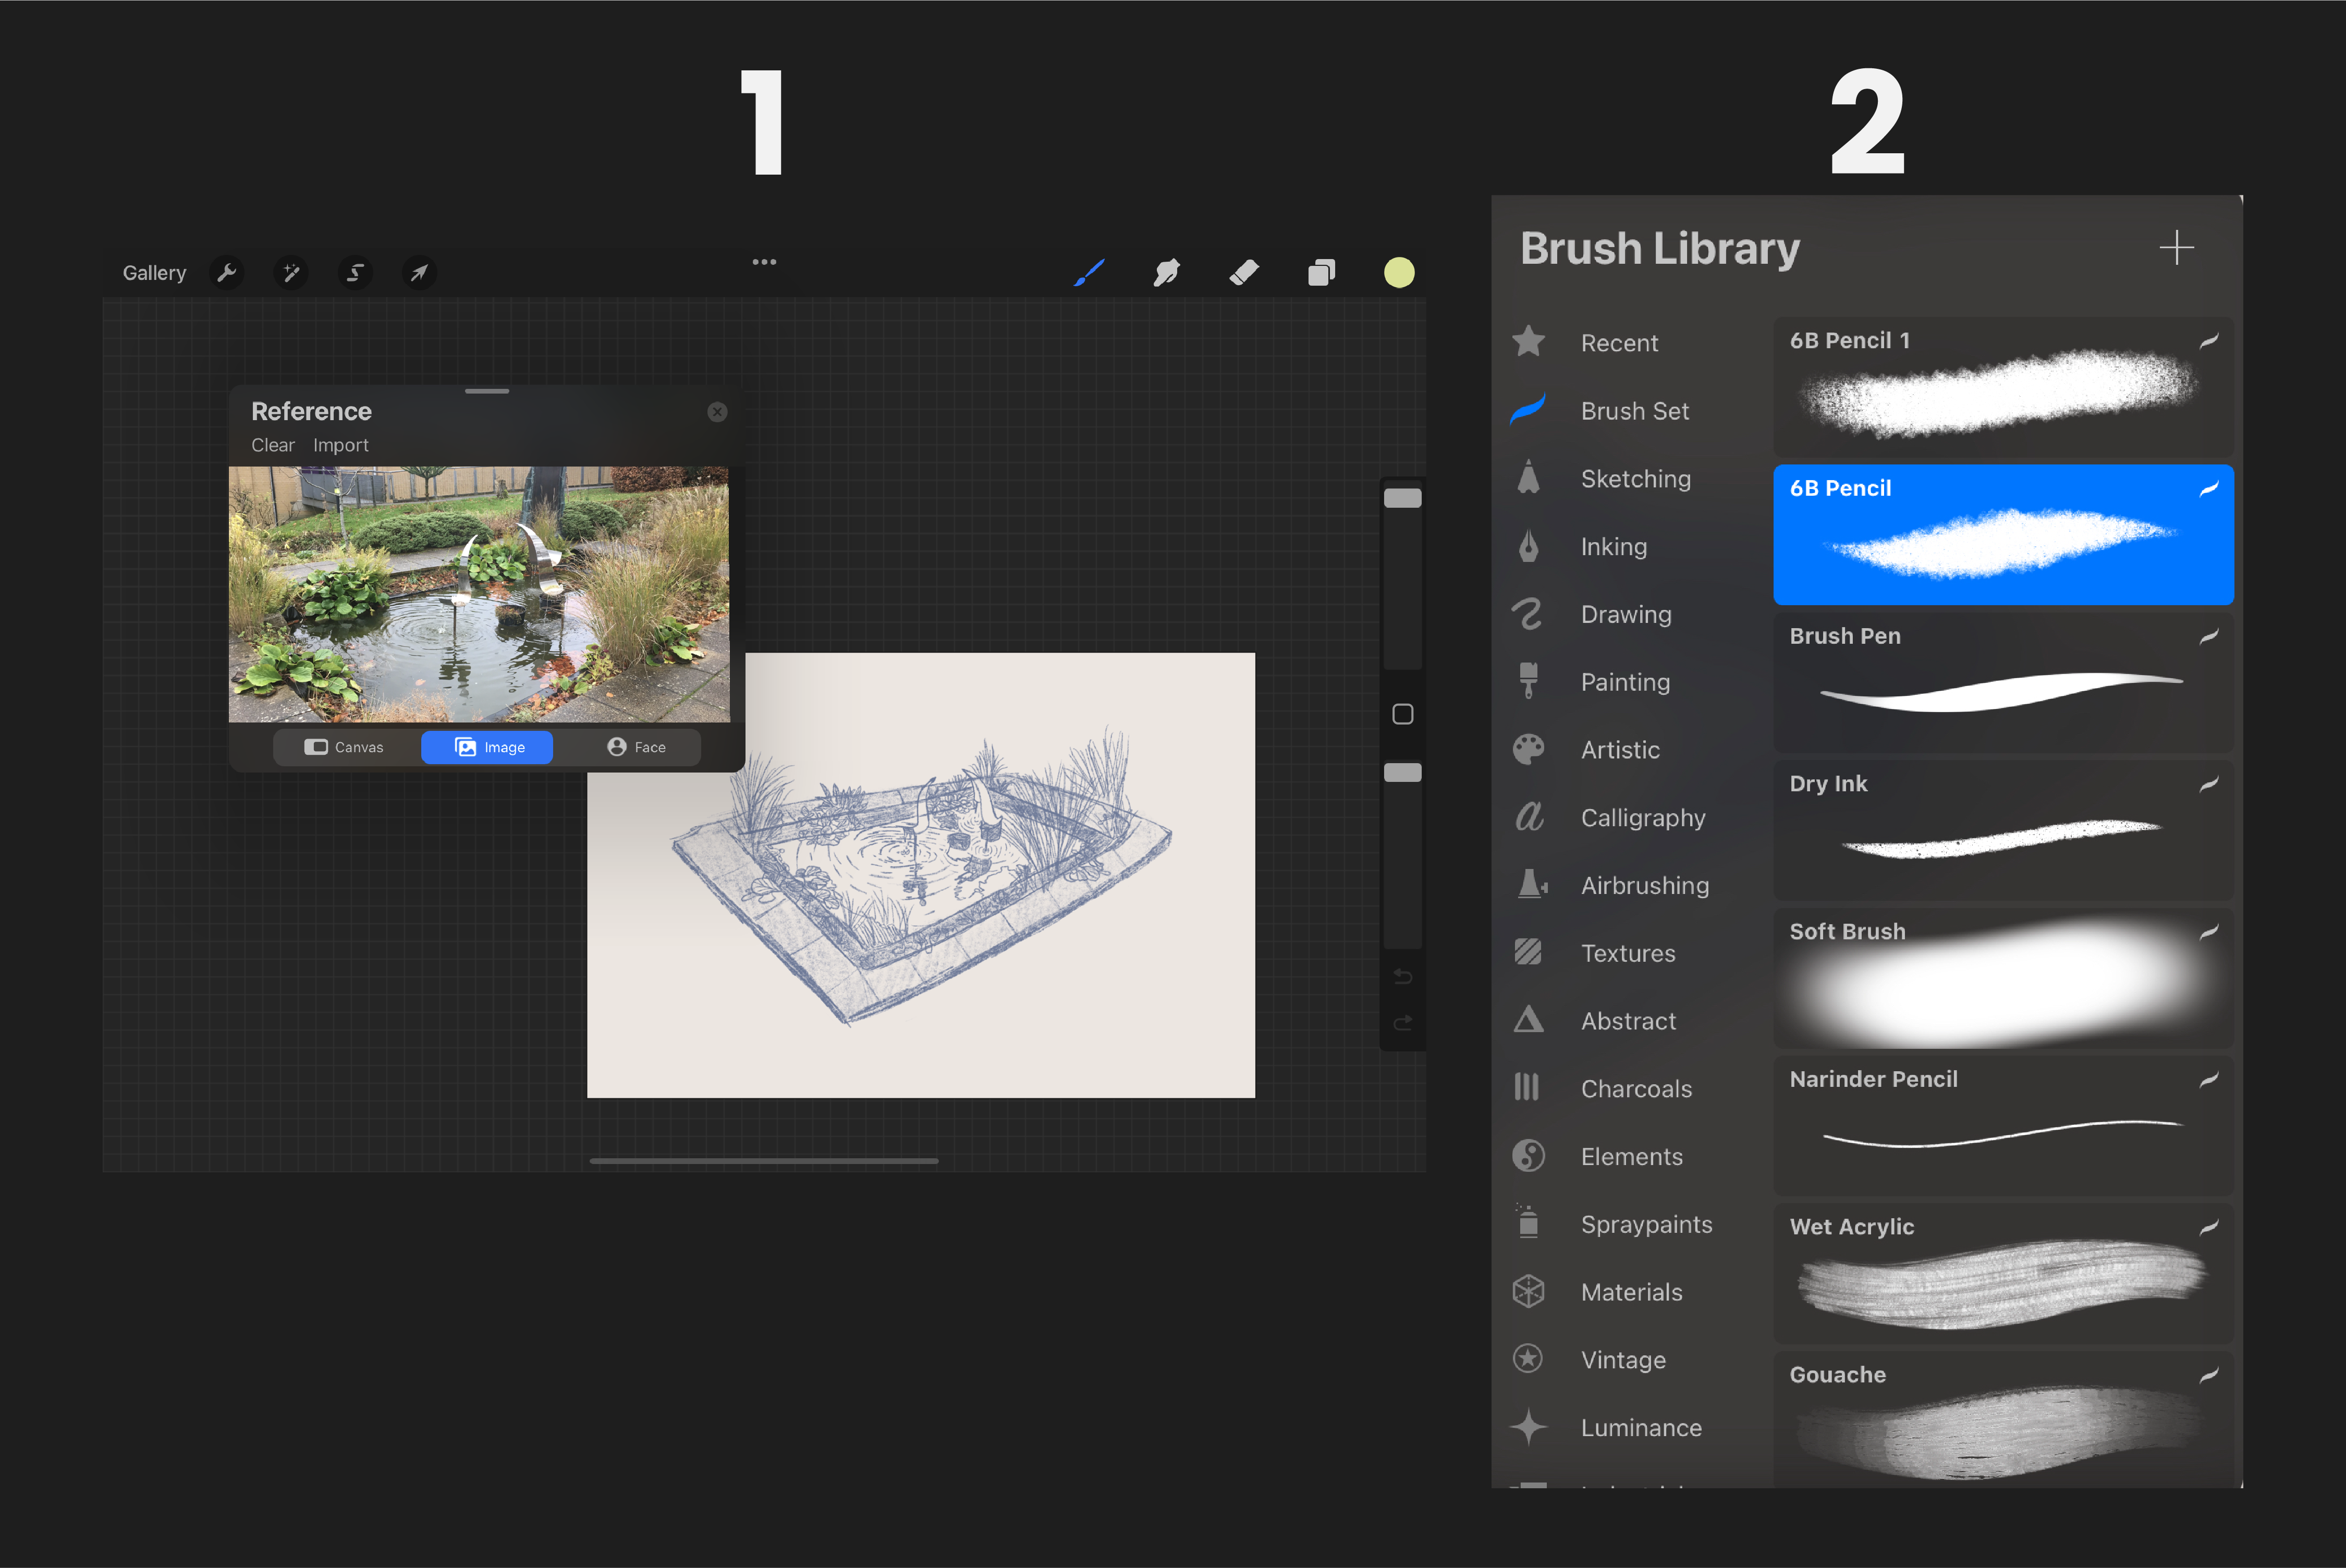
To start my sketching process, I imported my first chosen image of a selected area around campus into procreate using the reference tool (1) so that I could see my image and easily zoom into it. This allowed me to focus on smaller details in my sketch and pay close attention to proportions.
Once I had my artboard properly set up, I began sketching using the 6B pencil brush (2) and my apple pencil, focusing mainly on getting the proportions of my sketches right so that I could focus on the finer details later on. While sketching, it was decided that I would only focus on particular areas and specific focal points rather than entire landscapes so that I could pay closer attention to detail and ensure these details didn’t get lost in a noisy and busy sketch. This decision was also made as to when sketching with any potential future clients, I am likely to be focusing on particular details and then filling in the rest of the scene during the design process.
Once I had my sketch outlines and was happy with all of the proportions, I started to fill in the rest of the details, such as windows, brick detailing, leaves and bushes. Shading was the final step in this task, which made these sketches feel a little less flat and gave them some more depth.
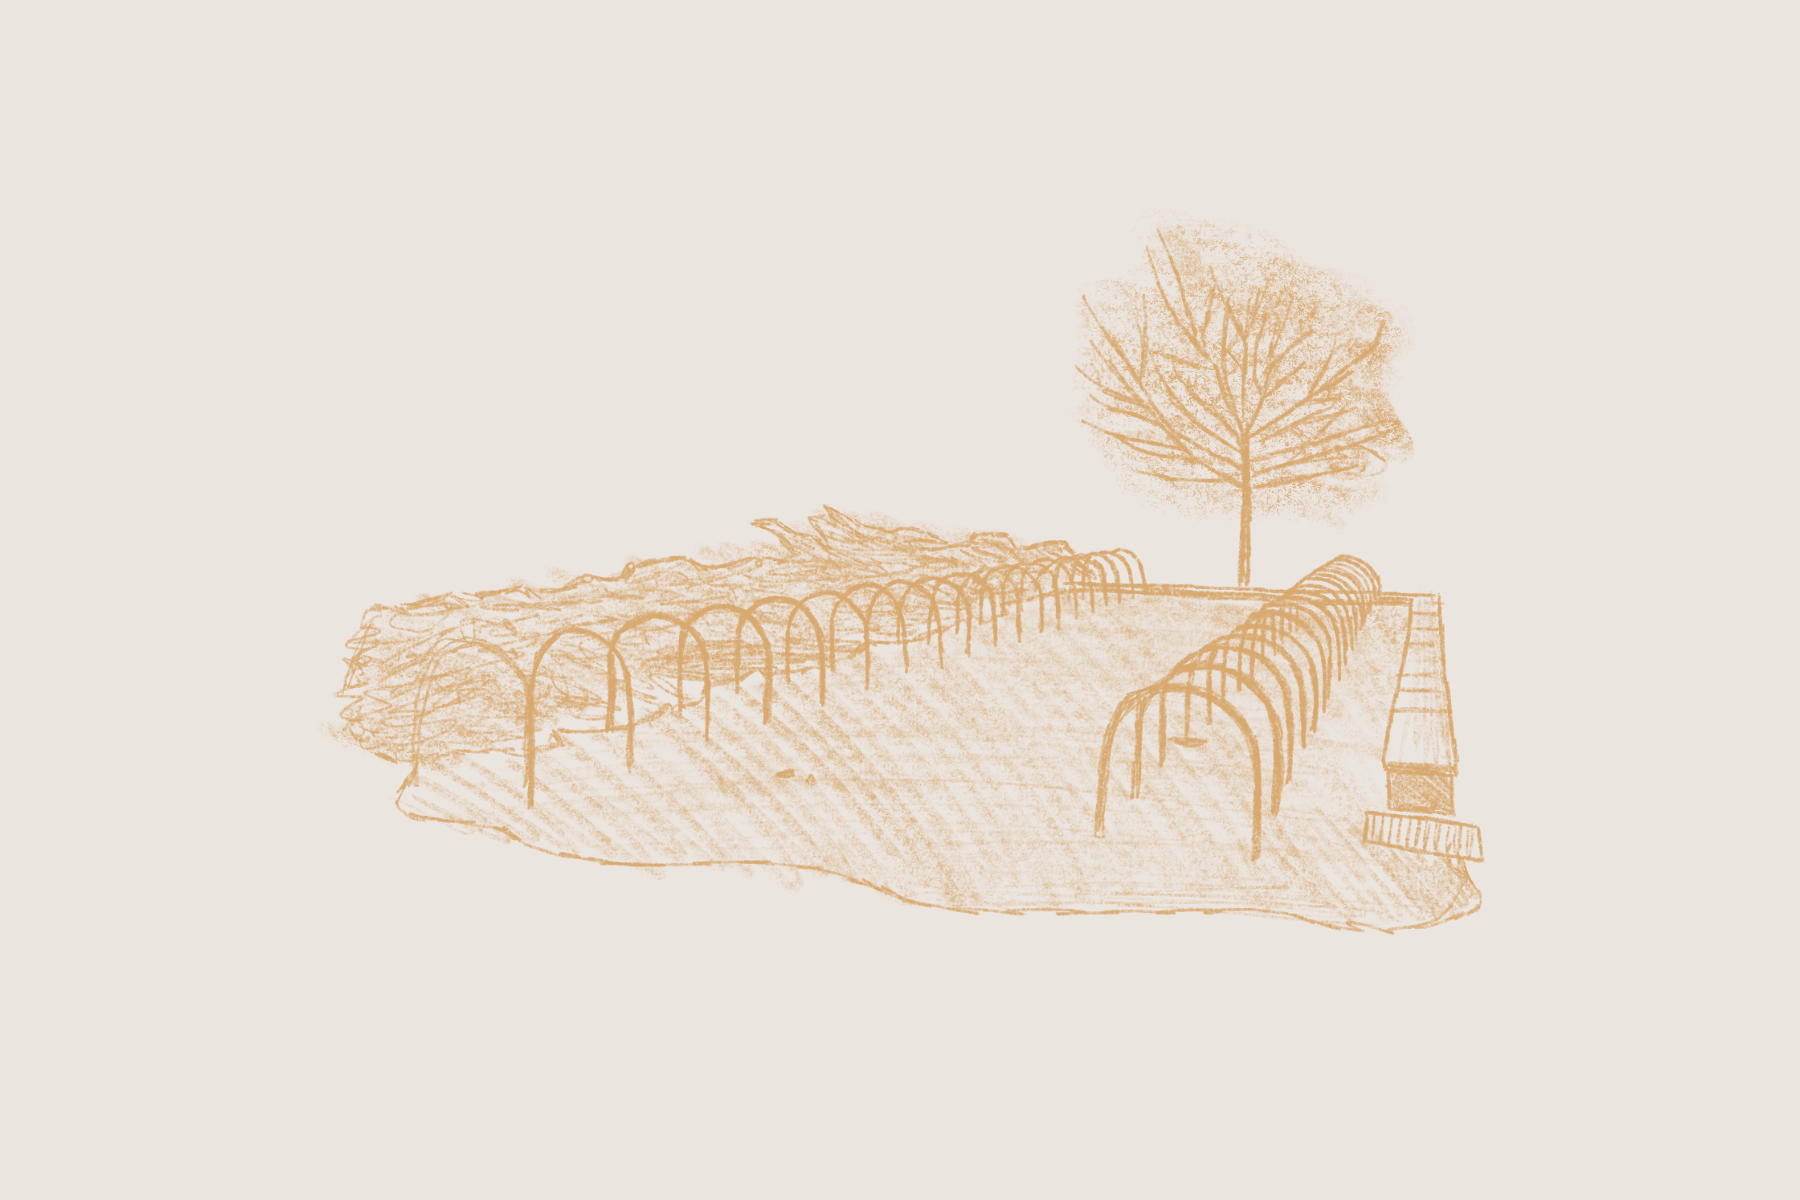
Campus Sketch #4
Reflection of Project
Overall, I am very happy with the outcome of this task, and believe this task was successful. My sketches appear proportionally correct and have a good amount of detail and shading that help visually enhance them. Doing these sketches of areas around campus has taught me about sketching sessions, and has introduced me to some valuable tips I can use when sketching with any potential future clients, such as detailing in small ways and focusing on the focal points so I don’t get too distracted in making anything too complicated for just a sketch.
If I had the chance to do this project again, I would time my sketches to ensure I didn’t spend too long on each one. Doing these sketches, although giving me some helpful knowledge about sketching, was meant to introduce me to quick 15-minute sketching sessions, and I feel I spent too long on each sketch for this goal to have been properly met. Reducing the amount of time spent on each sketch would improve the success of this project in my design learning.
